$18.99
4.48 out of 5 stars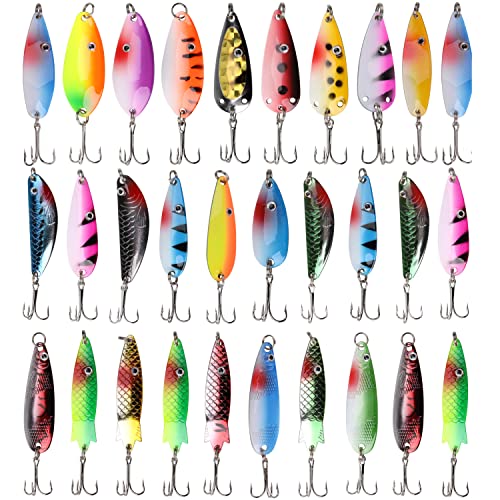
30pcs Shaddock Trout Fishing Spoon Lures
The perfect set for attracting trout with 30pcs of Shaddock spoon lures
Product information
Product Review Score
Product links
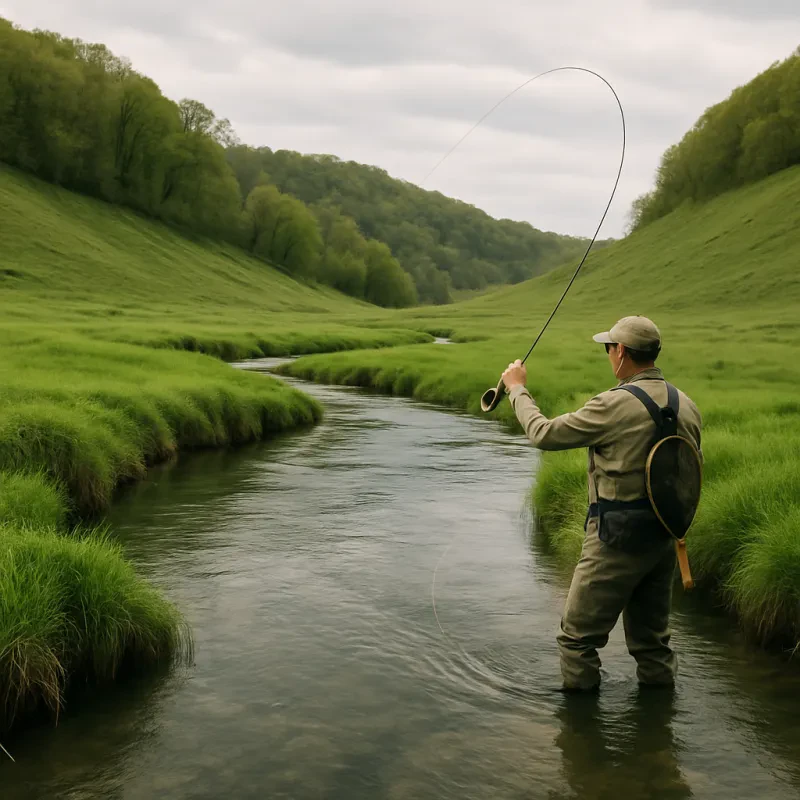
Filletting a trout can be a delightful skill to master, especially if you're an angler or a culinary enthusiast. This guide will take you through the process step by step, from preparation to the final fillet, providing tips and insights to enhance your technique and understanding of the art. Whether you're planning a cozy meal at home or looking to impress guests with your culinary skills, knowing how to properly fillet a trout is a valuable addition to your repertoire.
Introduction to Trout and Filletting
Trout is a popular freshwater fish known for its delicate flavor and texture. Filleting trout involves removing the meat from the bones in two clean halves, resulting in boneless pieces that are perfect for cooking. The process can seem daunting at first, but with patience and practice, it becomes a straightforward task.
Preparing Your Workspace
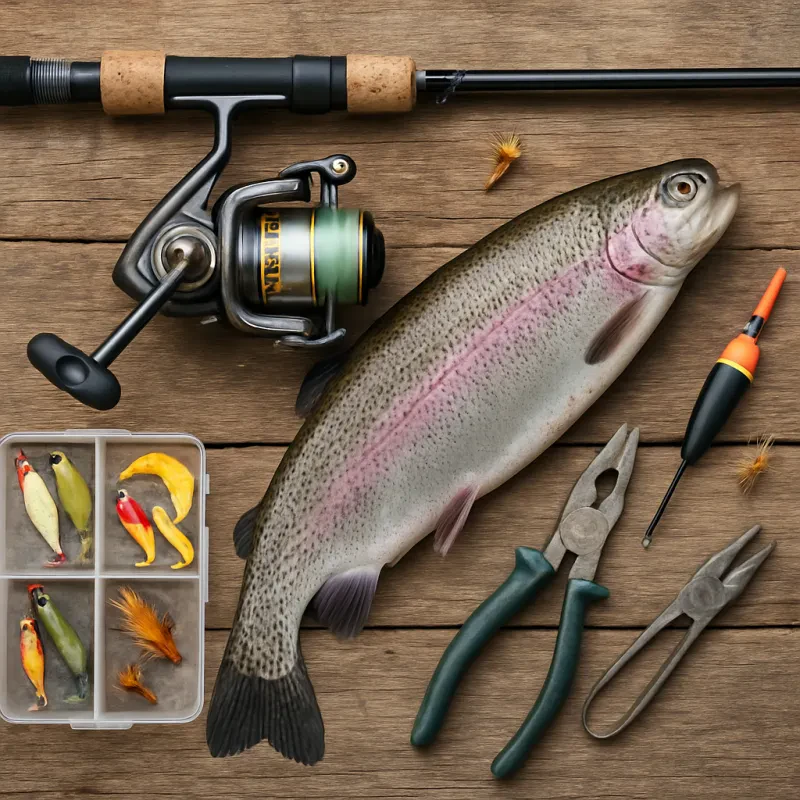
1. Cleanliness and Organization: Before you begin, ensure your workspace is clean and well-organized. Lay out all the tools you will need: a sharp fillet knife, a cutting board, a pair of tweezers or pliers for removing any bones, and a clean towel.
2. Sharpening Your Knife: A sharp knife is crucial for filleting fish efficiently. Use a knife sharpener to hone the edge of your fillet knife. A sharp knife will make cleaner cuts and reduce the risk of accidents.
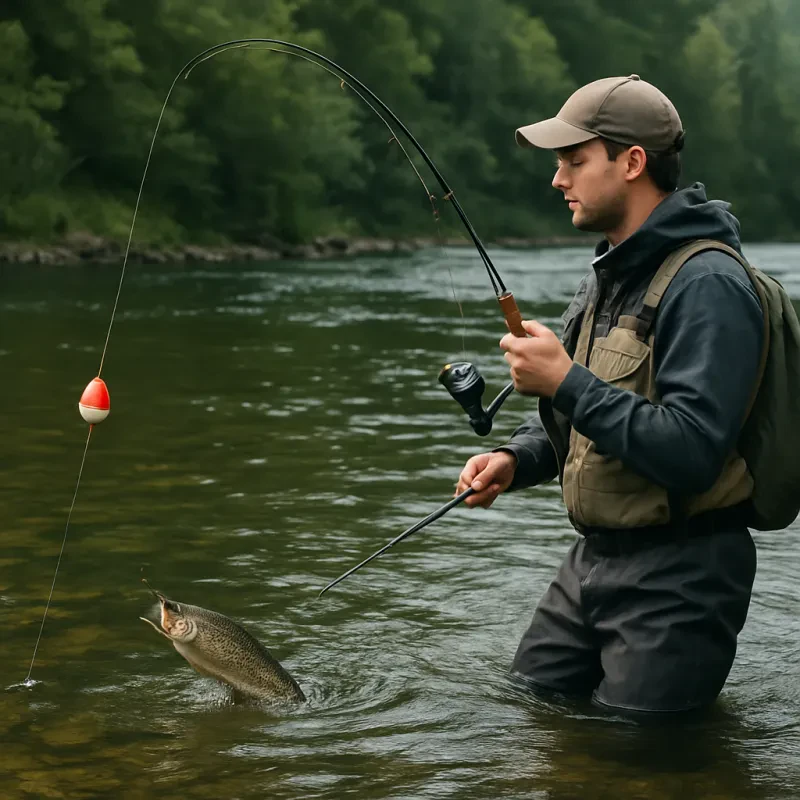
Handling the Trout
Selecting the Trout: Freshness is key when selecting trout. Look for clear eyes, a firm body, and a clean, ocean-like smell. If the fish is already gutted, ensure the cavity is clean and free from remnants.
Rinsing the Fish: Rinse the trout under cold water to remove any scales or debris. Pat the fish dry with a paper towel. This step helps in obtaining a clean cut and prevents the knife from slipping.
Fillet Process
Step 1: Making the First Cut
1. Positioning the Trout: Lay the trout on its side on the cutting board. Hold the trout by the head with your non-dominant hand.
2. Initial Cut: Insert the tip of your fillet knife behind the fish's gills and head, angling the knife slightly towards the head. Cut down until you hit the backbone, but do not cut through it.
Step 2: Separating the Fillet
1. Following the Backbone: Turn the blade so it's flat against the backbone. Use a gentle sawing motion to guide the knife along the length of the fish, from the head to the tail. Keep the knife blade as close to the backbone as possible to maximize the amount of meat in your fillet.
2. Finishing the Cut: As you approach the tail, you can either cut through the tail, leaving it attached to the fillet, or cut the fillet free just before the tail. The choice here depends on personal preference and the intended presentation.
Step 3: Removing the Rib Cage
1. Identifying the Rib Cage: You'll notice the rib bones are still attached to the fillet. Position your knife at the edge of the rib cage, with the blade angled slightly upwards.
2. Cutting Away the Ribs: Carefully slide your knife along the ribs, separating them from the fillet. Try to remove as much of the rib cage as possible without taking too much meat with it.
Step 4: Skin Removal (Optional)
1. Skin-On or Skin-Off: Some recipes call for the skin to be left on, while others require a skinless fillet. If you're removing the skin, proceed to the next step.
2. Removing the Skin: Place the fillet skin-side down on the cutting board. Hold the tail end (or where the tail would be), applying slight downward pressure. Angle the knife flat against the board and wiggle it gently to start separating the skin from the flesh. Pull on the skin gently as you slide the knife along the length of the fillet.
Finishing Touches on Filleting Trout
1. Checking for Bones: Run your fingers along the fillet to feel for any bones that might have been missed. Use tweezers or pliers to remove any pin bones.
2. Trimming: Trim any excess fat or unwanted parts from the fillet. Look for areas where the meat might be discolored or damaged and trim those away.
Cleanup and Storage
1. Cleaning Your Workspace: Clean your workspace thoroughly with hot, soapy water to prevent any cross-contamination.
2. Storing the Fillets: If you're not cooking the fillets immediately, wrap them in plastic wrap or place them in an airtight container. Store in the refrigerator if you plan to use them within two days, or freeze for longer storage.
Tips for Perfect Fillets
- Practice Makes Perfect: Don't be discouraged if your first few attempts aren't perfect. Filleting is an art that improves with practice.
- Knife Care: Keep your fillet knife sharp and clean. A well-maintained knife makes the filleting process smoother and safer.
- Gentle Handling: Treat the fish gently throughout the process to avoid bruising the meat, which can affect the texture and flavor.
Mastering the art of filleting trout opens up a world of culinary possibilities. Whether you're making a simple pan-fried trout or a more elaborate dish, starting with a perfectly filleted piece of fish ensures a delightful eating experience. Remember, patience and practice are key to developing your skills. Enjoy the process and the delicious results of your labor!